Chapter 2 · Getting Started
Create a Project and Commission a Miniserver
Every LOXONE project starts the same way: a new project is created, a Miniserver is found, and the two are joined together. Get it wrong, and you can end up with a project stuck in the wrong language, or a Miniserver still using its default password, which leaves the customer’s building open to anyone who finds it.
By the end of this lesson you will be able to:
- Create a new project the correct way
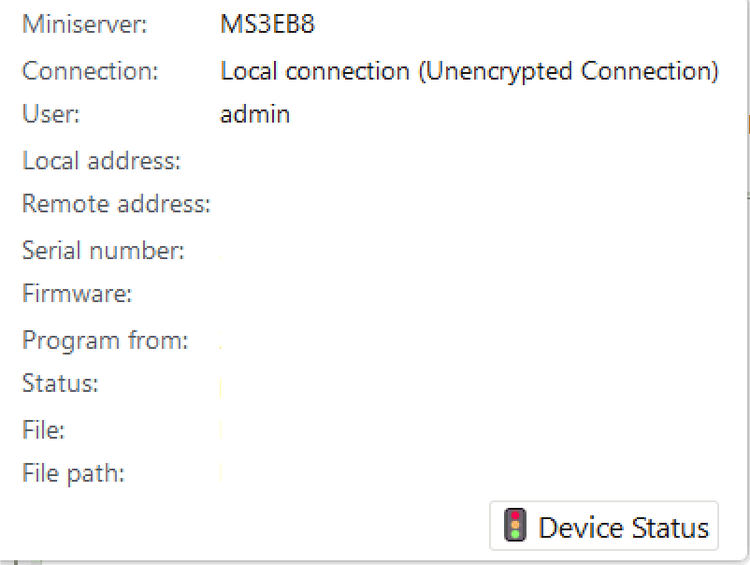
- Find and connect to a Miniserver, and log in for the first time
- Complete the Miniserver setup and save the program safely
The situation
A new Miniserver is mounted in the panel, powered, and connected to the network. On your laptop, LOXONE Config is open with no project yet.
Your job is to bring the two together, so that by the end there is a project running on the Miniserver and a copy saved safely on your PC.
Start the right way
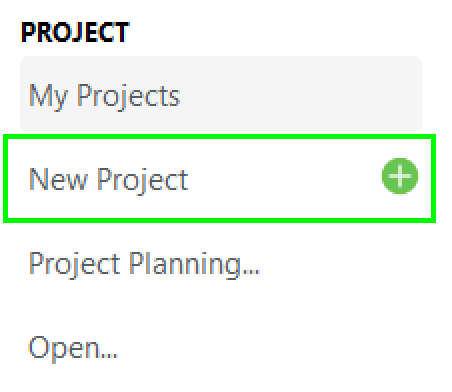
There is one rule that saves a lot of trouble, so it comes before anything else: begin with New Project
If you skip this and connect straight to a fresh Miniserver, LOXONE Config loads the default project. The only fix is to close it, create a new project, and save that to the Miniserver.
With that rule in mind, the first half of commissioning is creating the project and finding the Miniserver on the network.
Create the project and find the Miniserver
- Click New Project. LOXONE Config searches your network for Miniservers.
- Select your Miniserver from the results. Or click the plus symbol to open the Miniserver Selection and then Search to add a Miniserver manually.
Log in for the first time
A new Miniserver, or one whose SD card has just been formatted, uses default login details:
- User: admin
- Password: admin
These are only a starting point. Leaving them in place would leave the customer's building open to anyone who knows the default.
Complete the Miniserver setup
Once connected, LOXONE Config highlights any missing configuration. You complete these either in the Miniserver and project properties, or with the Configure Miniserver button, which appears in the ribbon when the Miniserver is selected.
| Setting | What to set | Why it matters |
|---|---|---|
| General | Miniserver name and geographic location | The name appears in the app. The location is used to calculate sunrise, sunset and the sun's position for automatic shading. |
| Network | DHCP or a static address, and the hostname | Use DHCP if the customer manages their own network, a static address if a professional manages it. |
| External Access | Remote Connect | Lets the customer reach the building remotely. Requires registering the Miniserver in the LOXONE Portal. |
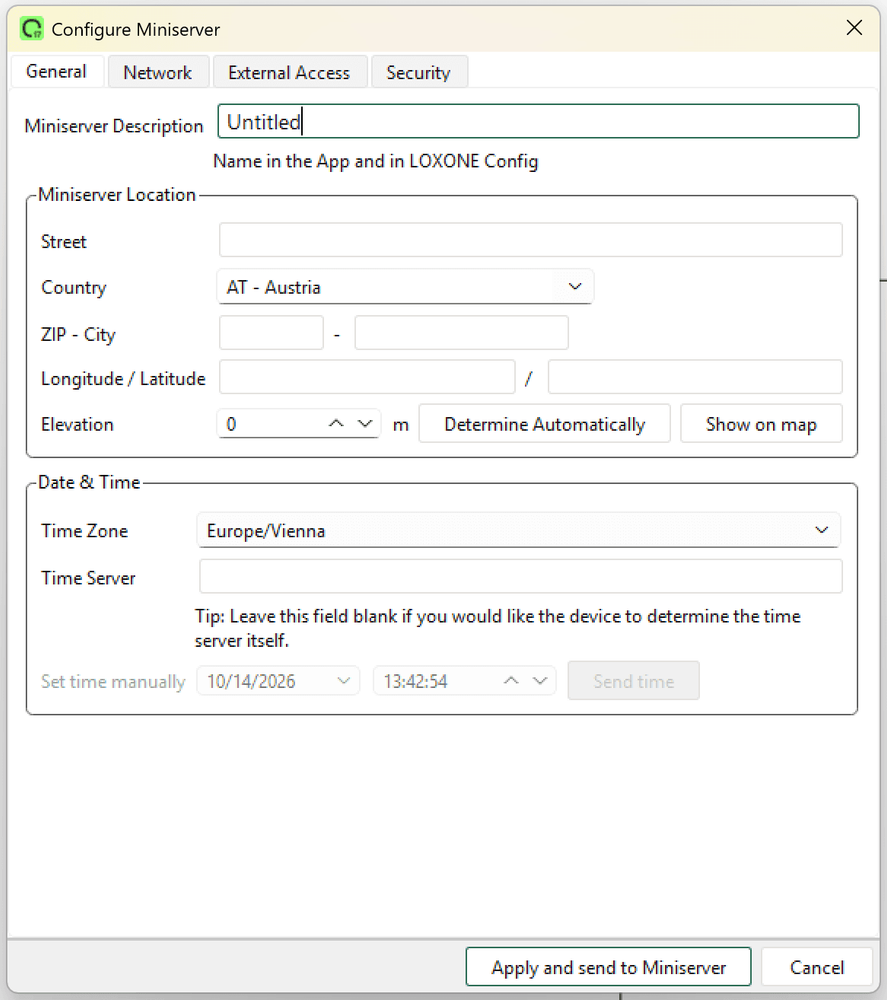
When the settings are complete, click Apply and send to Miniserver. This writes the settings into the project and saves the program to the Miniserver.
Save in two places
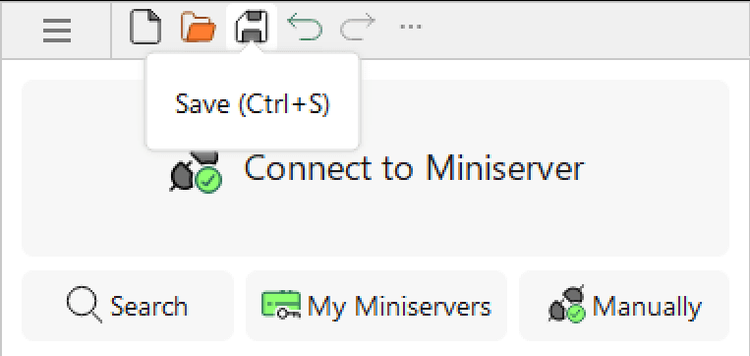
Commissioning is not finished until the program is saved twice. Saving to the Miniserver puts the program on the device that runs the building. Saving to your PC keeps a copy you can return to.
After the first save, you will also be asked to confirm the change of the Miniserver serial number in the project.